Just imagine delighting your friends and family with a slice of history by baking an authentic 18th century Queen’s Cake right in your own kitchen. In this guide, I will show you step-by-step how to recreate this classic English treat, using traditional methods and ingredients that evoke the past. You’ll discover not only the rich flavors and textures of this cake but also the historical significance behind it. So, gather your ingredients, and let’s take a delicious trip back in time!
Ingredients and Tools
For recreating an authentic 18th-century Queen’s Cake, you’ll need a selection of specific ingredients and tools that will help you achieve the best results in your baking endeavor. Gathering these items in advance will streamline your baking process, ensuring that you’re fully prepared to make this delightful cake.
Essential Ingredients
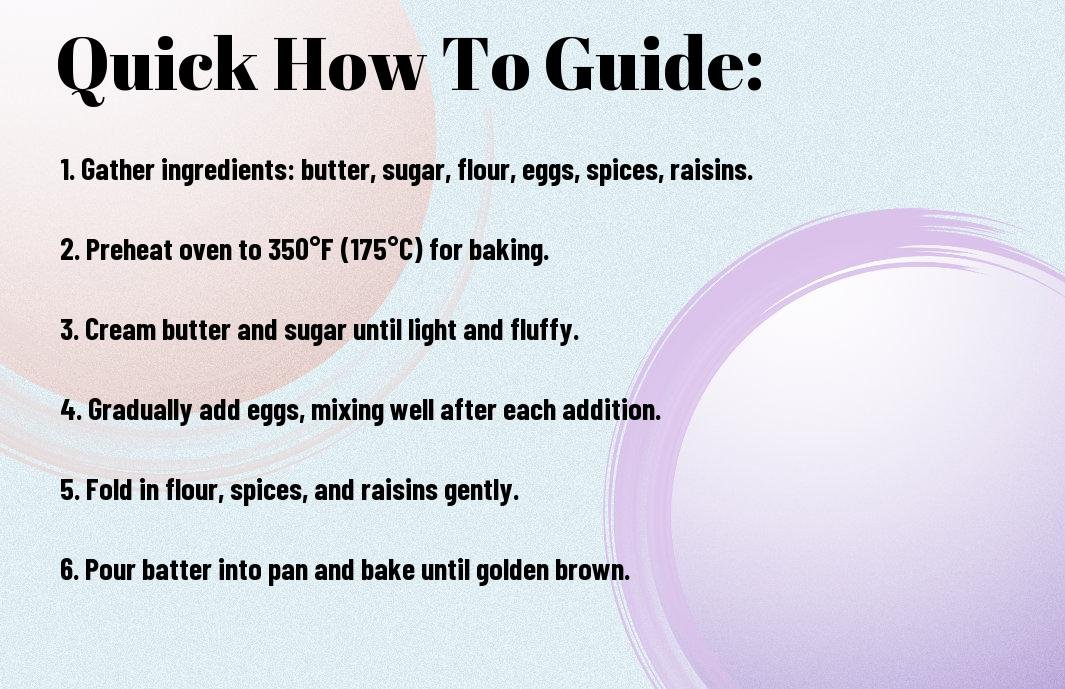
Assuming you wish to replicate the original flavor, you’ll need ingredients like butter, sugar, flour, eggs, and a medley of dried fruits and spices. Apart from that, having some brandy or rum on hand will enhance the cake’s richness, so be sure to include those as well.
Recommended Baking Tools
On my journey to baking the perfect Queen’s Cake, I’ve found that using the right tools can significantly impact the outcome. Essential tools include measuring cups for accuracy, a mixing bowl for combining your ingredients, and a cake pan that is appropriate in size to allow for even baking.
It’s vital to have a reliable mixing bowl, as this will be the space where all your ingredients come together. Measuring cups ensure that you’re using the correct quantities, which is especially important for this traditional recipe. A sturdy cake pan will allow the cake to rise beautifully and bake evenly. Additionally, a rubber spatula is invaluable for scraping every last bit of batter into the pan, so none of that exquisite flavor goes to waste. Don’t forget a fine sieve to dust the cake with icing sugar at the end for that perfect finish!
Preparing the Cake Batter
If you want to recreate a traditional Queen’s cake, you’ll need to prepare your cake batter with care. Start by combining your dry ingredients, such as flour, baking powder, and spices, in one bowl. In another bowl, cream together butter and sugar until light and fluffy, which is crucial for achieving a rich texture. Gradually add eggs, mixing thoroughly before incorporating the dry mixture. This process ensures that the ingredients blend seamlessly, resulting in a sumptuous cake befitting a queen.
Mixing Techniques
Little attention to mixing techniques can greatly influence your cake’s texture. Use a wooden spoon or a hand mixer to gently combine your ingredients, avoiding overmixing to prevent a dense cake. It’s important to fold in any added fruits or nuts delicately to maintain their shape and enhance flavor, ensuring an exquisite bite every time.
Incorporating Flavor
With *Queen’s cake*, infusing flavors is key to capturing the essence of the 18th century. You can achieve this by adding ingredients such as zests, spices like nutmeg and allspice, or choosing dried fruits soaked in spirits. Each element contributes a unique depth, so be generous but mindful.
Cake flavors can make a significant difference in the final outcome. I like to emphasize *expressive notes* like orange or lemon zest, which not only uplift the flavor but also contribute to a delightful aroma in the kitchen. Including a blend of spices not only honors traditional recipes but also invites a rich flavor profile. Don’t hesitate to experiment with the types and ratios of these ingredients; it’s all about finding a balance that sings to your taste buds, while also respecting the *historical* spirit of this regal treat.
Baking the Cake
Now that your batter is prepared, it’s time to bake the cake. Be sure to preheat your oven and prepare your cake pans with a light coat of butter and flour. Carefully pour the batter into the pans, ensuring there is an even distribution. This will help achieve a uniform rise and delectable texture throughout.
Oven Settings and Timing
The ideal temperature for baking your 18th-century Queen’s Cake is around 325°F (160°C). I usually bake mine for about 45-55 minutes, but this can vary depending on your oven. To check for doneness, insert a toothpick into the center—if it comes out clean, your cake is ready to come out!
Tips for Ensuring Even Baking
Baking can be tricky, but with a few helpful strategies, you can achieve even baking. Here are some tips I personally swear by:
- Always preheat your oven to ensure consistent baking.
- Use the center rack in your oven for optimal heat circulation.
- Rotate your cake halfway through baking to avoid hot spots.
- Invest in an oven thermometer to check for accurate temperature.
- Allow your cake layers to cool in the pan for a few minutes before transferring them to a wire rack.
Any of these tips will enhance your baking results significantly!
Plus, I often recommend keeping an eye on your cake as it bakes, since oven temperatures can fluctuate unexpectedly. Always check for doneness a few minutes before the minimum suggested time. If you notice the edges browning too quickly, you can cover the cake loosely with foil to prevent burning. This simple trick can help achieve a beautiful, even finish. Any effort you put into perfecting these details will ensure your cake turns out spectacular.
Decorating the Cake
All great baking concludes with a flourish, and decorating your Queen’s Cake is your chance to show off your creativity. Start with a classic marzipan layer followed by a smooth icing, achieving an elegant finish that mirrors its historical roots. Use edible gold leaf or royal icing decorations for an exquisite touch that honors the original festivities for which this cake was made. Don’t hesitate to explore different shapes and patterns that reflect your personal style while still paying homage to this timeless recipe.
Traditional Finish Techniques
Some of the most authentic finishes involve using rich layers of marzipan or fondant to create a polished look. Begin by rolling out your marzipan and covering the cooled cake completely. Once set, you can add a layer of royal icing, textured with a palette knife for an intricate surface, or opt for simple soft peaks for a rustic charm. Add patterned details or edible flowers for a finishing touch that embodies the creativity of 18th-century pastry chefs.
Modern Twists on Decoration
Cake decorating is not limited to traditional methods, and you can easily infuse your Queen’s Cake with contemporary flair. Start by experimenting with different color palettes and flavors. Instead of the classic white icing, try vibrant hues or even a marble effect. Additionally, feel free to incorporate fondant shapes, edible glitter, or whimsical toppers that align with modern trends, creating a cake that stands out in any setting while paying homage to history.
Another way to elevate your cake is by introducing unexpected edible elements. Consider using fresh flowers, seasonal fruits, or unique flavor infusions, such as citrus or berry compote, to modernize the classic Queen’s Cake. Play with textures by introducing crunchy toppings like candied nuts or toasted coconut. This approach not only adds visual interest but also enhances the taste profile, ultimately resulting in a cake that uniquely represents your personal style while bringing a fresh perspective to a storied tradition.
Serving Suggestions
After you’ve mastered the art of baking the 18th Century Queen’s Cake, consider elevating your presentation for a truly authentic experience. This rich dessert is best served in thin slices to showcase its beautiful layers. For a touch of elegance, I recommend dusting the top with powdered sugar or adorning it with fresh berries. Pairing it with a dollop of whipped cream or a scoop of clotted cream can also enhance the flavors beautifully.
Pairing with Beverages
Some excellent beverage pairings for your Queen’s Cake include a robust cup of black tea, which perfectly complements the cake’s richness. Alternatively, I find that a glass of sweet dessert wine, like a late-harvest Riesling, enhances the cake’s flavors, making for a luxurious treat. You might also enjoy it with a sparkling cider, offering a delightful contrast that’s both satisfying and refreshing.
Historical Context of Serving
Historical serving practices of the Queen’s Cake reflect the social customs of the 18th century. It was often presented during *special occasions*, such as weddings or significant gatherings, symbolizing wealth and status. It’s important to understand that sharing this rich cake in those times was seen as a demonstration of hospitality and affluence.
It’s fascinating to recognize that during its heyday, the Queen’s Cake was associated with festive *celebrations*, often appearing at *royal events* and *high-society gatherings*. The ingredients, such as imported spices and luxurious fruits, made it an exclusive delicacy for the elite. As you serve your own version today, you are not only indulging in a delicious treat but also participating in a historical *tradition*, reminding us of the extravagance and cultural significance that surrounded this delightful dessert. Embracing this context can add a unique layer to your serving experience, connecting you with the past and enhancing the appreciation of your creation.
Troubleshooting Common Issues
Once again, baking can sometimes present unexpected challenges, especially when recreating historic recipes like the 18th century Queen’s Cake. If you encounter a problem, don’t fret! This section will guide you through common hiccups and ways to correct them, ensuring your cake turns out beautifully despite any setbacks.
Common Baking Problems
Common issues you might face while baking this cake include uneven rising, a dense texture, or batter that separates. These problems can arise from various factors such as incorrect ingredient measurements, overmixing, or not properly preheating your oven. If any of these happen, don’t be discouraged; solutions are at hand!
Tips for Fixing Mistakes
Even if things don’t go as planned, there are effective strategies to rectify your baking blunders:
- Adjust the oven temperature if the cake is browning too quickly.
- Incorporate more liquid ingredients to combat dryness.
- Carefully re-mix if the batter seems too thick.
The key is to approach each problem with a solution-focused mindset!
Fixing mistakes during baking is part of the learning experience. If you find your cake has sunk, you can still salvage it by carefully slicing the top and adding a layer of homemade frosting or jam. This not only enhances the flavors but also gives your cake a unique twist. Here are more helpful tips:
- Monitor the baking time closely to avoid overbaking.
- Use the to check for doneness.
- Add extra flavoring to enhance any dull taste.
The important takeaway is to remain calm and adaptive during the baking process!
Summing up
Following this guide, you can successfully recreate a historic 18th century Queen’s Cake right in your own kitchen. By gathering the authentic ingredients and blending them with the traditional techniques outlined, you will not only experience a taste of history but also enhance your baking skills. I encourage you to embrace the process and enjoy the delightful flavors that this classic recipe has to offer. Bake with passion, and you’ll have a piece of the past to share with friends and family.